Munroe Tavern
History
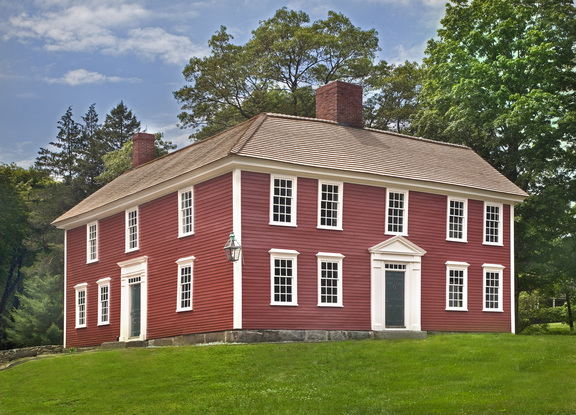
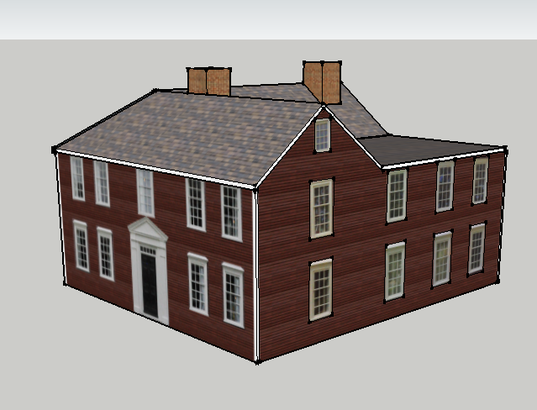
Go to the Lexington Historical Society's website page about the Munroe Tavern to find out about this American Revolution era historic house.
Go to the Lexington Historical Society's website page about the Munroe Tavern to find out about this American Revolution era historic house.
Cut and Assemble Instructions
First, make sure that you have read the General Instructions for Building My Models page.
First, make sure that you have read the General Instructions for Building My Models page.
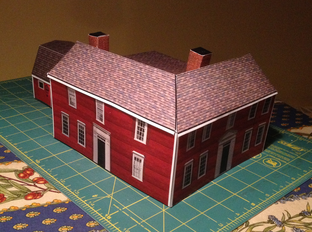
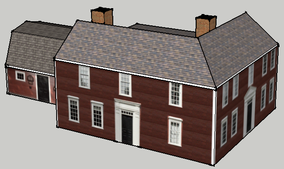
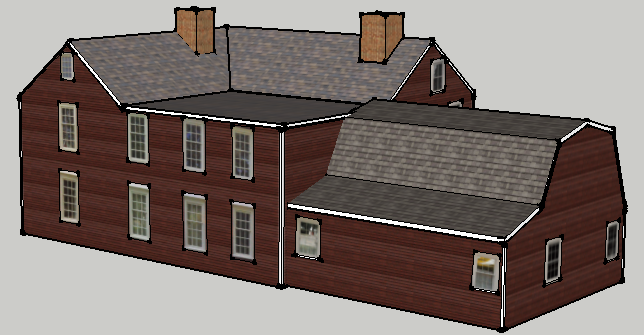
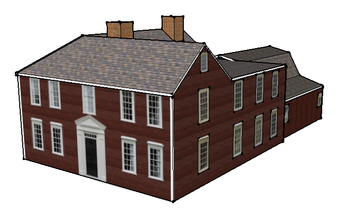
The model consists of two buildings (large almost square house and the smaller Elsa Olsen Sullivan Program Center attached at the back of the large house).
STOP: Make sure you have read about gluing up models in the general instructions.
After you have cut all of the separate pieces, you are ready to assemble and glue together the pieces.
Here is an ordered list of assembly instructions:
STOP: Make sure you have read about gluing up models in the general instructions.
After you have cut all of the separate pieces, you are ready to assemble and glue together the pieces.
Here is an ordered list of assembly instructions:
- First, make sure that all scored folds are made before starting to glue two pieces together. Make sure you not only score the tabs, but also the folds in the walls and the folds in all of the roofs. It is important to score the paper and make the folds before applying any glue to a piece -- otherwise chaos ensues when you discover that you need to score a piece that is already glued to another.
- Glue the tab on the left of part #1 to the right edge of part #2. Set aside to dry. This can set in as little as 30 seconds depending on the glue you use. But it will take longer to set up a solid joint.
- Glue the tab on the left of part #C to the right edge of part #B. Set aside to dry.
- Glue the tab on the left of part #B to the right edge of part #1. Set aside to dry.
- Glue the tab on the left of part #3 to the right edge of part #A.
Set aside to dry.
- Glue the tab on the left of part #2 to the right edge of part #C. Set aside to dry.
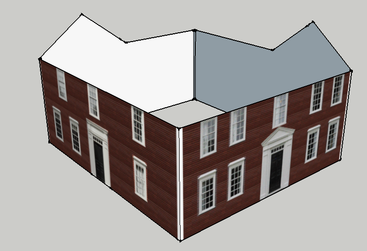
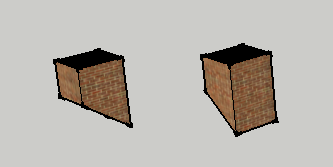
This will complete the walls of the main building, as shown below. NOTE: The tabs at the top of the walls for gluing to the roofs are not shown.
Next, we will work on the smaller Elsa Olsen Sullivan Program Center that will be attached at the back of the large house. As with the main building, glue the tabs to the plain edges of parts #A and #3.
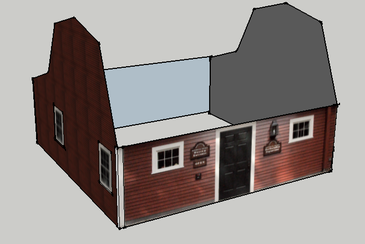
This will complete the walls of the program center, as shown below. Again, NOTE: The tabs at the top of the walls for gluing to the roofs are not shown.
This will complete the walls of the program center, as shown below. Again, NOTE: The tabs at the top of the walls for gluing to the roofs are not shown.
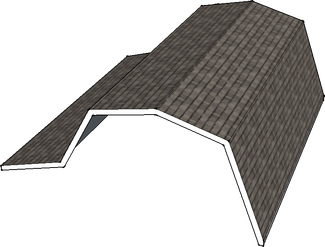
The tabs on the top edges of the walls are used to attach the roofs to the walls. Fold the roof part #7 and the edges of the roof so that it looks like the diagram below. Once you have the folds as shown, place the roof over the walls without any glue to make sure that all of the folds both the trim boards and the tabs at the top of the walls, fit correctly, before you attempt to glue the roof to the walls.
Once you are satisfied that the roof will fit as expected, apply glue to the tabs at the top of the walls, starting at the highest point and working down towards the front of the program center building. You may have to use your fingers to apply pressure between the tab of the wall and the underside of the roof. NOTE: the less glue you use, the faster it will dry.
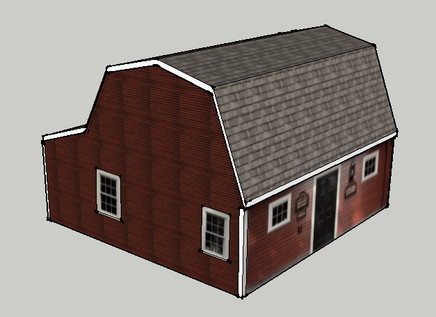
The finished program center building will look like this:
The finished program center building will look like this:
Put this aside while we assemble the main Tavern building.
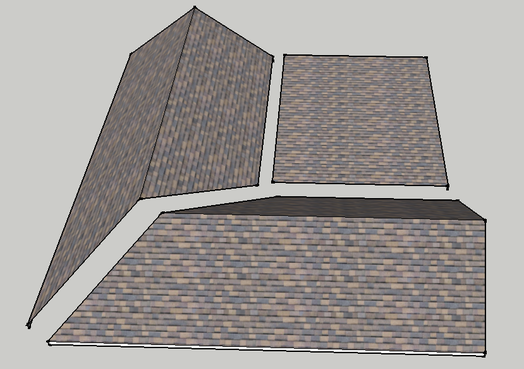
The first thing to do is to start assembling the three parts of the roof.
<Stopped here for the night... More tomorrow>
The first thing to do is to start assembling the three parts of the roof.
<Stopped here for the night... More tomorrow>
