Hancock-Clarke House
History
Go to the Lexington Historical Society's website page about the Hancock-Clarke House to find out about this American Revolution era historic house.
Go to the Lexington Historical Society's website page about the Hancock-Clarke House to find out about this American Revolution era historic house.
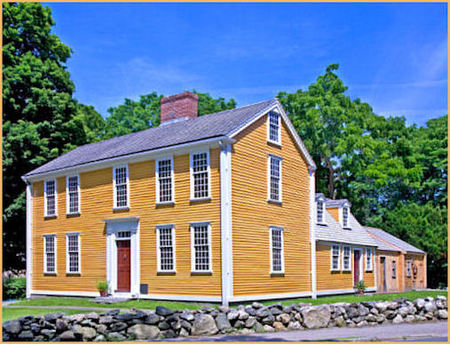
Photo Credit: Paul Doherty
|
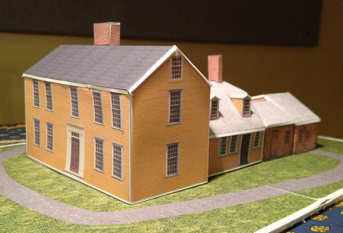
Assembled model of Hancock-Clarke House
|
Cut and Assemble Instructions
First, make sure that you have read the General Instructions for Building My Models page.
First, make sure that you have read the General Instructions for Building My Models page.
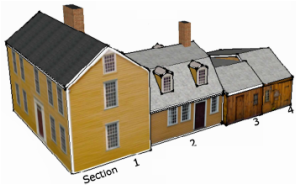
Model is built out of four separate sections
The model consists of four sections numbered 1-4 that are assembled separately and then glued together.
STOP: Make sure you have read about gluing up models in the general instructions.
After you have cut all of the separate pieces of on the five pages you are ready to assemble and glue together the pieces.
Make sure you have scored and folded all of the fold lines on all of the pieces of the model. Each roof has a trim board that folds down making the roof into a cap that will go on top and secure the tops of each of the roofless structures. The glue tabs and the corners of the sections are the easiest folds. The most difficult folds are the trim boards of the roofs, especially the trim boards on the roofs of the dormers. Take your time and don't be afraid to correct any folds that don't quite come out correct. The thick paper is pretty forgiving if you use force to make the folds. Try overfolding the trim boards on the roofs (fold them completely back to meet the roof) and then unfolding slightly to get them to the correct position.
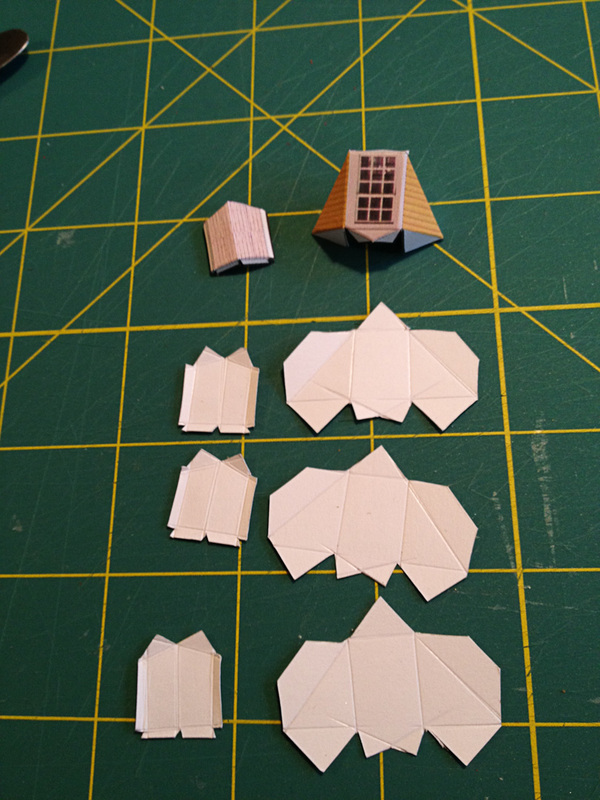
Dormers and Roofs. Click to see score lines.
|
|
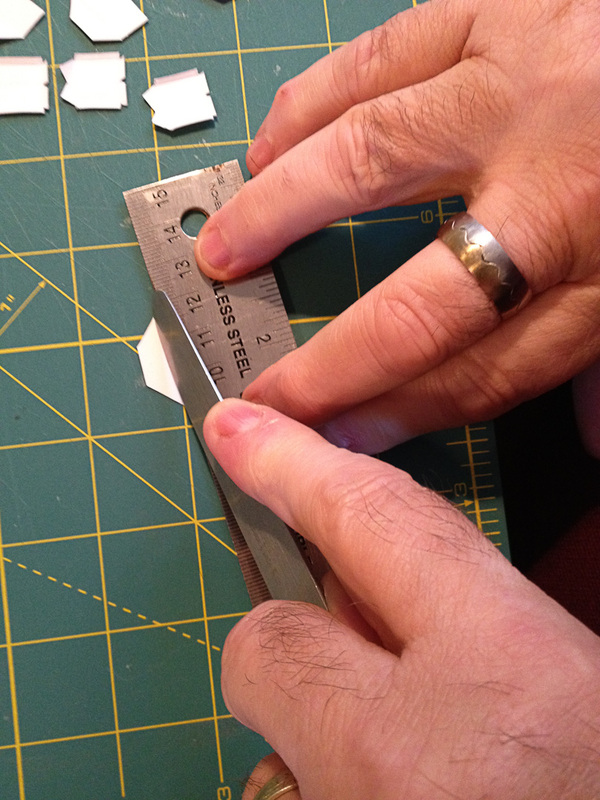
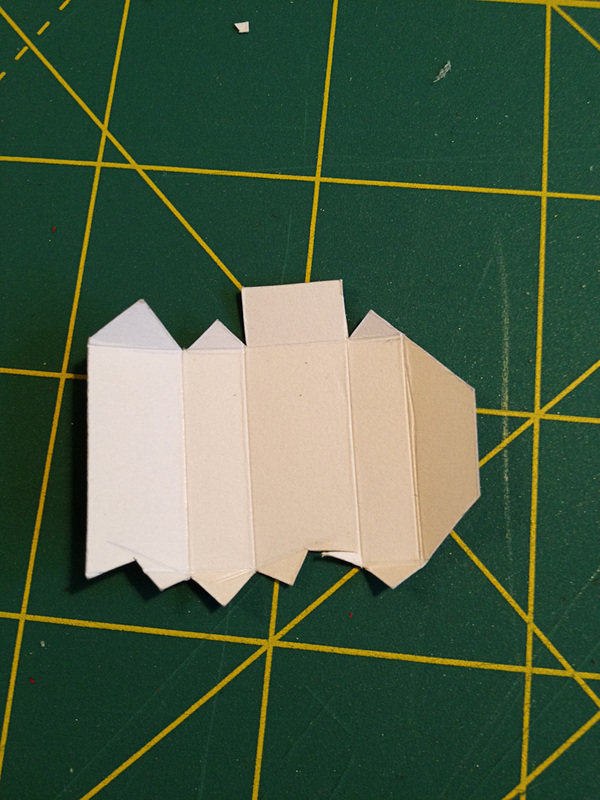
Each roofless section has tabs that need to be folded inward at about 45° to be used eventually to glue the roof on the section.

Roof for section 2
STOP: Make sure you have read about gluing up models in the general instructions.
For each of the sections, glue up the four sides of each section (two tabs per section) to form four roofless structures.
Next, glue the roofs to the roofless structures. This is much easier If you use rubber cement but the joints will not be as strong. If you use gel paper glue, you will need to glue one seam at a time and use your fingers to apply pressure inside the structure until the glue hardens -- 30 to 60 seconds if you apply thin coats to the tabs. To prevent the tabs from coming undone, you need to wait 5 minutes until the glue really is dry.
One useful thing to do while you are waiting for glue to dry is to fold up and assemble the four dormers and roofs as well as the two chimneys. The dormers will sit on the sides of section 2 in the areas indicated by gray. Fold the tabs at an angle so that they form a multi-fingered surface to glue to the roof. Likewise for the two chimneys.
Once the roofs are dry, apply the four dormers to the roof of section 2 and the chimneys to the roofs of sections 1 and 2 in the places that are gray rectangles.
Next, glue the sections together, being careful to position section 2 onto the side of section 1 in the gray area.
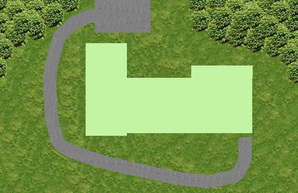
Finally, if you want to have a base scene for your model, print out the Hancock-Clarke base pdf. It is two 8 1/2" x 11" pages that are meant to be glued to a base (e.g., foam core board) that measures 11" x 17".
|
You can then glue your model to the board making tabs out of scrap paper and gluing them first to the bottom inside of the model walls, and then folded in so that you can glue them to the base of the model. You don't need many of these (e.g., 4 will do) to fix the model to the board. Here is a case where rubber cement is very helpful since it is very difficult to apply pressure to the joint.